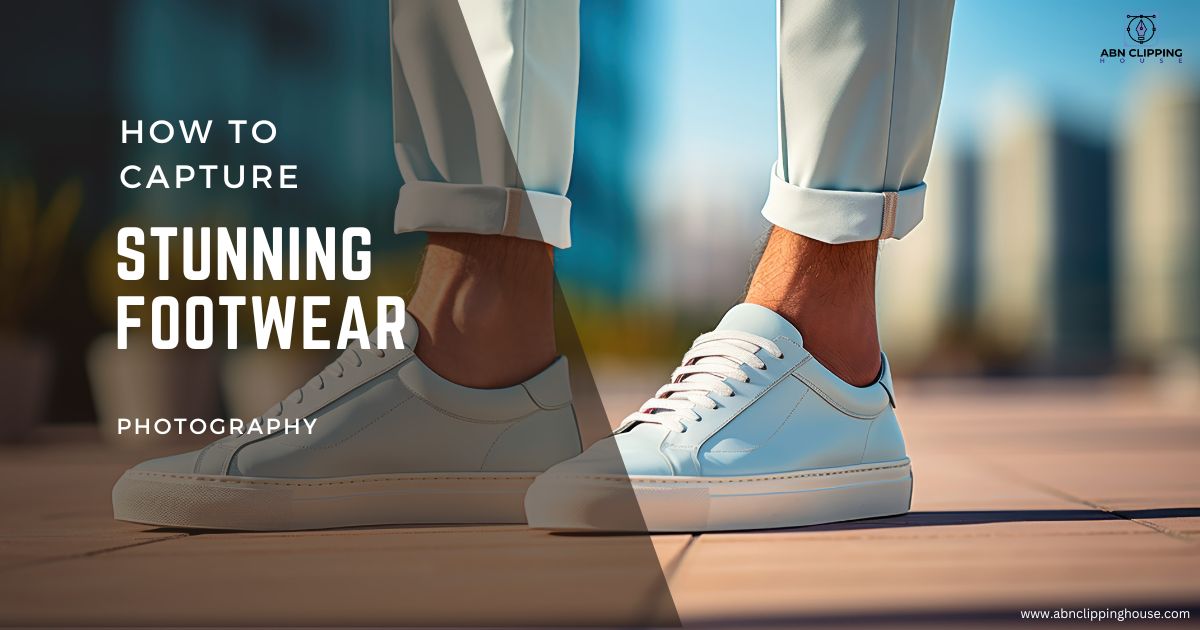
How to Capture Stunning Footwear Photography
In footwear photography, getting the perfect shot takes more than just aiming a camera at a pair of shoes. If you’re photographing athletic sneakers, luxury heels, or casual boots, it’s important to master footwear photography. This skill will boost your brand and help you attract more customers.
Let’s delve deep into the techniques and strategies that can help you achieve the most stunning and professional results.
Understanding Your Product
Before you even press the shutter button, it’s essential to understand the footwear you’re photographing. Is it a high-end designer shoe or a rugged work boot? The style, material, and purpose of the footwear will guide your approach to the photography. For instance:
- Luxury Shoes: These require a clean, polished aesthetic to highlight premium craftsmanship and materials.
- Athletic Shoes: You might want to focus on energy and motion, emphasizing the shoe’s performance features.
- Casual Footwear: Capturing lifestyle elements will create a relatable and comfortable vibe.
When you understand your product, you can match your photography style to its branding message. This makes the product more attractive to the right audience.
Setting Up Your Studio

Creating the perfect studio environment is key to achieving high-quality footwear photos. While shooting in natural light has its advantages, many professional photographers prefer a controlled studio setup to eliminate variables and maintain consistency.
Lighting Techniques
Lighting is the key to great footwear photography. Proper lighting will improve textures, colors, and the shoe’s overall design.
- Soft Light: Use softboxes or diffused lighting to create an even and smooth light that eliminates harsh shadows and highlights. This type of lighting is ideal for most footwear, as it provides clarity while maintaining a professional look.
- Hard Light: Hard lighting can be used to create strong shadows and contrasts for more dramatic images. This method is particularly effective for athletic shoes, as it conveys dynamism and energy.
- Reflectors: Incorporating reflectors into your setup can help bounce light into shadowy areas, giving the shoe a more three-dimensional appearance.
Choosing the Right Background
Selecting the correct background is critical in showcasing your footwear without distractions. A white or neutral background is the go-to choice for eCommerce and catalog photography as it isolates the product and makes it stand out.
For lifestyle or editorial shots, using backgrounds that match the brand’s identity, like wooden textures, outdoor scenes, or cityscapes, can add depth and context to your images.
Positioning and Angles
The way you position the footwear and choose your angles can either make your shot a success or ruin it. It’s important to highlight the shoe’s best features and offer a comprehensive view of the product.
Classic Angles to Master
- The Side View: This is the most common angle for footwear photography. It shows the silhouette of the shoe and highlights both its shape and design details.
- The Three-Quarter View: Slightly turning the shoe so that the front and side are both visible offers a dynamic and professional appearance.
- The Top-Down View: This shot is often used for sneakers and casual footwear to emphasize the shoe’s sole and upper design. It’s also a great way to showcase the laces, tongue, and any internal details.
- The Rear View: Often overlooked, the rear view provides an excellent perspective for shoes with distinct heel designs or unique back features.
By experimenting with these angles, you can present the footwear in a visually appealing and comprehensive way, ensuring that all key elements of the design are showcased.
Details Matter: Capturing Close-ups
Close-up shots are vital in footwear photography as they allow customers to appreciate the finer details, such as stitching, materials, and textures. Use a macro lens to get up close and personal with the footwear, focusing on areas like:
- Stitching and Seams: Clean stitching can signify high quality, and focusing on these details will give customers confidence in the craftsmanship.
- Textures: Whether it’s the softness of suede, the shine of leather, or the mesh of an athletic shoe, highlighting textures adds a tactile quality to your images.
- Branding: Logos and brand insignias are important selling points. Ensure these are well-framed and prominently displayed.
These close-ups can make your photography stand out by giving viewers a deeper understanding of the product’s quality and value.
Mastering Post-Production
No matter how perfect your shots are, post-production is where you can fine-tune your images and make them shine. The key is to enhance the photo without making it appear over-edited. Focus on the following areas during post-processing:
Color Correction
Making sure the colors in your image match the actual product is essential. Misleading colors can lead to customer dissatisfaction and returns. Use software like Adobe Photoshop or Lightroom to adjust the white balance, saturation, and contrast to ensure the shoes appear as true-to-life as possible.
Background Cleanup
For studio shots on plain backgrounds, it’s crucial to eliminate any imperfections. This includes smoothing out wrinkles in the backdrop, removing dust, and ensuring that the background is spotless.
Sharpening
Footwear photography often benefits from a touch of sharpening to bring out the details in textures and materials. Be careful not to over-sharpen, as this can create unnatural halos around the edges of the shoes.
Shadow and Reflection Adjustments
Adding subtle shadows or reflections under the footwear can make the product appear more grounded and three-dimensional. This technique is particularly effective for eCommerce photography, where products need to stand out against clean backgrounds.
Adding Context with Lifestyle Photography
While clean studio shots are essential, incorporating lifestyle photography can help connect the product to its intended audience. Lifestyle shots place the footwear in a real-world setting, showing it in action and providing context for how it can be worn. For example:
- Outdoor Boots: Photograph them in rugged, natural settings to evoke durability and adventure.
- Casual Sneakers: Show them being worn in a trendy café or urban environment to appeal to fashion-conscious buyers.
These types of shots help customers envision how the shoes will fit into their own lives, making the product more relatable and desirable.
Conclusion
By mastering the art of footwear photography, you can elevate your brand and attract more customers. From the perfect lighting setup to meticulous post-production, every detail matters when it comes to capturing the beauty and craftsmanship of shoes. Whether you’re shooting luxury heels or tough outdoor boots, these tips will help you create stunning images that stand out in a busy market.