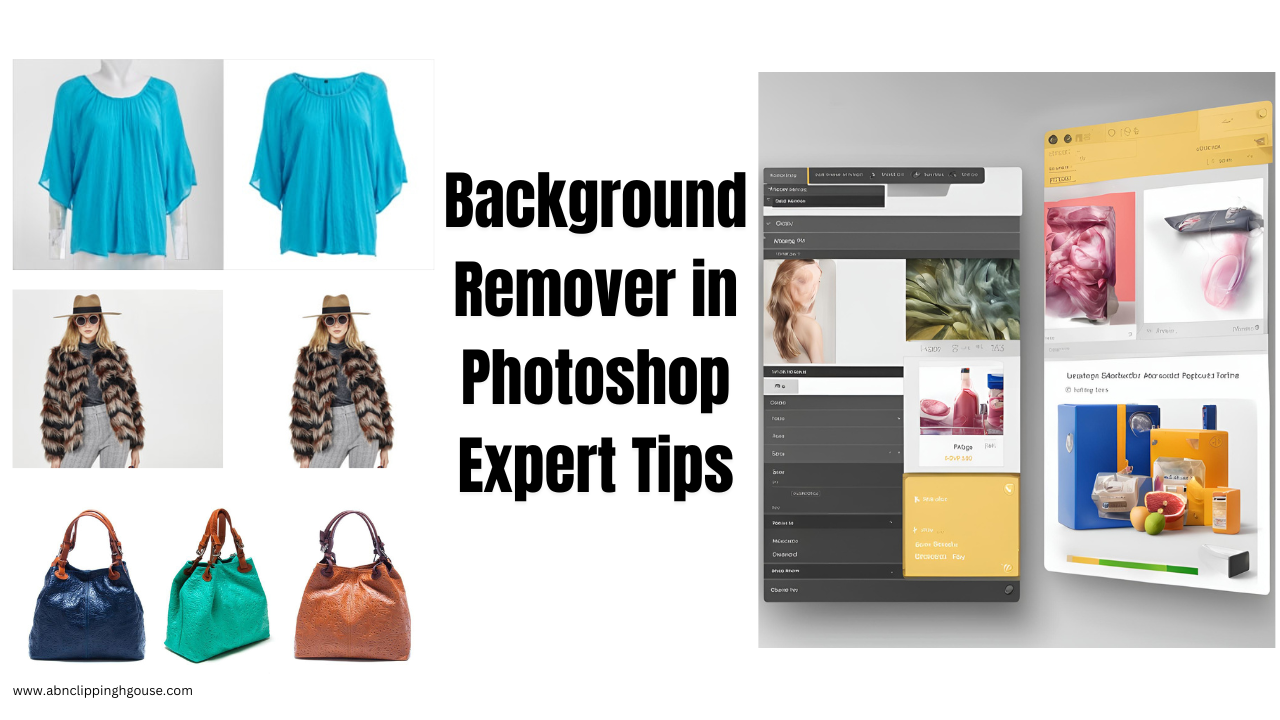
Background Remover in Photoshop Expert Tips
In the age of digital editing the ability to remove and replace backgrounds in images. It is a skill that can take your work to a professional level. If you are a graphic designer, photographer, or hobbyist learn background remover in Photoshop. We are discussing this lesson about the expert’s tips and techniques for background remover in Photoshop.
Introduction to Background Removal
Importance of Background Removal
Removing the background from an image allows for greater creative freedom. It allows you to place subjects in new environments. And it creates composite images or simply isolates elements for a cleaner look. For personal or professional projects, effectively removing backgrounds can significantly enhance the visual appeal of your work.
Basic Concepts in Photoshop Background Removal
Understanding the basics is crucial before diving into advanced techniques. Cleaning background in Photoshop entails selecting the subject, eliminating the unwanted background, and refining the edges to achieve a natural appearance. Familiarize yourself with the tools and terminology to build a strong foundation for more complex tasks.
Let’s Started with Photoshop
Setting Up Photoshop for Background Removal
Start by setting up your workspace to optimize for background removal tasks. Customize toolbars, panels, and shortcuts to streamline your workflow. Ensuring that you have a well-organized workspace can save time and make the editing process more efficient.
Essential Tools and Shortcuts
Photoshop offers a variety of tools for background removal, including the Magic Wand, Quick Selection Tool, and Pen Tool. Learn the essential shortcuts for these tools to speed up your workflow. Knowing when and how to use each tool is key to achieving precise results.
Understanding Layers and Masks
Working with Layers
Layers are fundamental in Photoshop. They allow you to work non-destructively and make adjustments without permanently altering your original image. Learn how to use layers effectively to keep your edits organized and reversible.
Using Layer Masks for Background Removal
Layer masks are powerful for background removal. They enable you to hide or reveal parts of a layer without erasing the content. This non-destructive method allows for easy adjustments and refinements, ensuring a seamless background removal process.
Selection Tools Overview
The Magic Wand Tool
The Magic Wand Tool is useful for selecting areas with similar colors. Adjusting the tolerance level helps refine your selection, making it easier to isolate the subject from the background. However, this tool is best suited for images with high contrast between the subject and background.
The Quick Selection Tool
The Quick Selection Tool allows for fast and intuitive selections by automatically detecting edges. Brush over the areas you want to select, and Photoshop will do the rest. This tool is ideal for subjects with clear, defined edges.
The Lasso Tool Family
The Lasso Tool family includes the standard Lasso Tool, Polygonal Lasso Tool, and Magnetic Lasso Tool. Each serves a specific purpose, from freehand selections to more precise, edge-detecting selections. Mastering these tools will give you greater control over your selections.
Advanced Selection Techniques
Using the Pen Tool
The Pen Tool offers unparalleled precision for creating paths and selections. It may have a steeper learning curve, but the accuracy it provides is unmatched. This makes it ideal for complex subjects with intricate edges.
Refining Edges
Refining edges is crucial for a natural look. Photoshop’s Refine Edge tool allows you to smooth, feather, and adjust the edge of your selection. This step is essential for ensuring your subject blends seamlessly with its new background.
Selecting Hair and Complex Edges
Hair and other fine details can be challenging to select. Achieving clean, precise selections of complex areas is possible with techniques like channel masking and using the Select and Mask workspace.
Techniques for Different Backgrounds
Removing Solid Color Backgrounds
Solid color backgrounds are the easiest to remove. Tools like the Magic Wand and Quick Selection Tool can quickly isolate the subject. Fine-tune the selection with layer masks to ensure a clean removal.
Removing Gradient Backgrounds
Gradient backgrounds require more careful selection due to the varying shades. You can get a smooth, clean removal by combining tools like the Magic Wand with manual adjustments using the Lasso Tool.
Removing Patterned and Textured Backgrounds
Patterned and textured backgrounds pose a greater challenge. For the best results, you can yield by using a combination of. The Pen Tool for precise edges and the Quick Selection Tool for larger areas. Patience and attention to detail are key.
Automated Background Removal Tools
Photoshop’s Remove Background Feature
Photoshop’s Remove Background feature provides a quick, automated solution. While convenient, it often requires manual refinement to achieve professional results. Use this feature as a starting point and fine-tune as needed.
Using Select Subject
Select Subject is another automated tool that can quickly identify and select the main subject in an image. It works best with clear, distinct subjects and can save time in the initial selection process.
Third-Party Plugins and Extensions
Various third-party plugins and extensions can enhance Photoshop’s background removal capabilities. Tools, like Remove.bg and Topaz Mask AI, offer additional features and can integrate seamlessly with Photoshop, providing more options for complex tasks.
Manual Background Removal Techniques
Background Eraser Tool
The Background Eraser Tool allows for precise background removal by sampling the color at the center of your brush. Adjusting the tolerance and brush settings can help you control the removal process and avoid erasing parts of the subject.
Using the Brush Tool for Precision
For the finest details, the Brush Tool can be used to manually paint in or out parts of the background. This technique requires a steady hand and a keen eye but offers unparalleled control.
Combining Multiple Tools for Complex Backgrounds
Sometimes, no single tool will suffice. Combining multiple tools and techniques, such as using the Pen Tool for edges and the Brush Tool for fine details, can help you tackle the most complex backgrounds.
Refining Your Background Removal
Smoothing Edges
Smooth edges are essential for a natural look. Tools like the Refine Edge Brush and the Smudge Tool can help you achieve smooth, realistic edges that blend seamlessly with the new background.
Cleaning Up Leftover Backgrounds
Even after removing the majority of the background, small remnants can remain. Zooming in and using the Eraser Tool or Layer Masks can help clean up these leftover areas, ensuring a polished final image.
Adding Realism to Edges
Adding a slight blur or shadow to the edges can enhance realism. This can be achieved using Layer Styles or by manually painting with the Brush Tool. These small touches make a significant difference in the final result.
Replacing Backgrounds
Choosing the Right Background
The new background should complement the subject and enhance the overall image. Consider lighting, color balance, and perspective to ensure the subject looks natural in the new environment.
Blending the Subject with New Background
Blending techniques such as matching color tones, adjusting lighting, and adding shadows are crucial for integrating the subject with the new background. Layer Styles and Adjustment Layers can help achieve this blend.
Adding Shadows and Highlights for Realism
Shadows and highlights add depth and realism to your composite images. Use the Brush Tool, Gradient Tool, and Layer Styles to create shadows and highlights that match the new background and light source.
Common Mistakes and How to Avoid Them
Overusing Automatic Tools
While automatic tools can save time, relying too heavily on them can lead to subpar results. Always refine your selections manually to ensure precision and quality.
Ignoring Edge Refinement
Edge refinement is crucial for a natural look. Skipping this step can result in jagged or unrealistic edges. Use tools like Refine Edge and Smudge Tool to smooth and perfect your edges.
Mismatched Lighting and Shadows
Inconsistent lighting and shadows can ruin the realism of your composite images. Pay close attention to the light source and ensure your subject’s lighting matches the new background.
Expert Tips for Professional Results
Working Non-Destructively
Always work non-destructively by using Layers, Layer Masks, and Smart Objects. This approach allows you to make adjustments and refinements without permanently altering your original image.
Utilizing Adjustment Layers
Adjustment Layers are powerful tools for fine-tuning color, contrast, and brightness. They offer flexibility and control, allowing you to adjust the overall look of your image non-destructively.
Incorporating Smart Objects
Smart Objects allow for scalable, non-destructive editing. They preserve the original quality of your image and enable you to apply filters and transformations without losing data.
Troubleshooting Common Issues
Dealing with Low-Resolution Images
Low-resolution images can be challenging for background removal. Techniques like upscaling, using filters to enhance details, and careful selection can help improve the quality of your final image.
Handling Blurry Edges
Blurry edges require special attention. Tools like the Smudge Tool and Refine Edge Brush can help you achieve cleaner, sharper edges, enhancing the overall quality of your background removal.
Fixing Color Spills
Color spills occur when the background color bleeds into the subject. Using the Brush Tool with a low opacity and sampling colors from the subject can help clean up these spills.
Case Studies and Examples
Before and After Examples
Visual examples can illustrate the impact of background removal techniques. Showcasing before and after images highlights the improvements and the effectiveness of different tools and methods.
Detailed Walkthroughs of Complex Projects
Step-by-step walkthroughs of complex background removal projects provide valuable insights into the process. Detailed explanations help readers understand the techniques and decisions involved.
Integrating Background Removal into Workflow
Streamlining Your Process
Develop a streamlined workflow for background removal to save time and improve consistency. Create actions and presets for repetitive tasks, and organize your layers and files for efficiency.
Batch Processing Techniques
Batch processing can significantly speed up your workflow when dealing with multiple images. Learn how to automate background remover in Photoshop batch processing features.
Working with Other Adobe Apps
Photoshop integrates seamlessly with other Adobe apps like Illustrator and Lightroom. Learn how to leverage these tools to enhance your background removal process and create cohesive projects.
Saving and Exporting Your Work
Best Practices for Exporting
Exporting your final image correctly ensures it looks its best across different platforms. Learn the best practices for exporting, including resolution settings and file formats.
Choosing the Right File Format
Different projects require different file formats. Understand the pros and cons of formats like JPEG, PNG, and TIFF to choose the best one for your needs.
Maintaining Quality After Export
Maintaining quality after export is crucial. Learn how to optimize your export settings to preserve the quality and detail of your background removal work.
FAQs on Background Remover in Photoshop
How can I remove the background from an image in Photoshop? To remove the background, use tools like the Quick Selection Tool or the Pen Tool to select the subject. Refine the selection with Layer Masks and the Refine Edge tool for a clean result.
What is the best tool for background removal? The best tool depends on the complexity of the image. The Quick Selection Tool is great for simple backgrounds, while the Pen Tool offers precision for complex edges.
How do I refine the edges of my selection? Use the Refine Edge tool to smooth, feather, and adjust the edges of your selection. This step ensures a natural transition between the subject and the new background.
Can I automate background removal in Photoshop? Yes, Photoshop offers automated tools like Remove Background and Select Subject. These tools provide a good starting point but often require manual refinement.
What are common mistakes to avoid in background removal? Avoid overusing automatic tools, neglecting edge refinement, and mismatched lighting and shadows. Manual adjustments and attention to detail are key to professional results.
How do I replace the background in Photoshop? To replace the background, remove the existing one and paste the new background onto a separate layer. Blend the subject with the new background using Layer Styles and Adjustment Layers.
Conclusion
Recap of Key Points
Understanding the tools, refining your selections, and paying attention to details are key to mastering background remover in Photoshop. The best results come from combining automated features with manual techniques.
Encouragement to Practice
Practice is essential for honing your skills. Experiment with different images and techniques to become proficient in background removal. You can join our Community.
Final Thoughts on Mastering background remover in Photoshop
With dedication and practice, you can achieve professional-quality background removal in Photoshop. Use the expert tips and techniques outlined in this guide to enhance your digital editing skills and elevate your work.