

PROJECT REQUIREMENTS
Image masking for hair, fur and delicate product edges.
For image masking, the intended background matters. Hair, fur and translucent materials can react differently against light and dark backgrounds. Share the intended replacement background alongside the source image so we can assess edge detail in context.
Ask for an editable PSD mask if your team needs to refine the separation later. Finished JPG or PNG output and additional background versions should be included in the agreed delivery requirements.
ABN CLIPPING HOUSE · IMAGE MASKING
Photoshop masking with fine detail preserved
Isolate subjects that need more than a solid-edged clipping path. Masking helps retain hair, fur, translucent materials and soft transitions against a new or transparent background.
What we can help with
- Hair and fur edge refinement
- Layer masks for soft transitions
- Transparent and translucent product handling
- Alpha-channel masking where suitable
Work examples

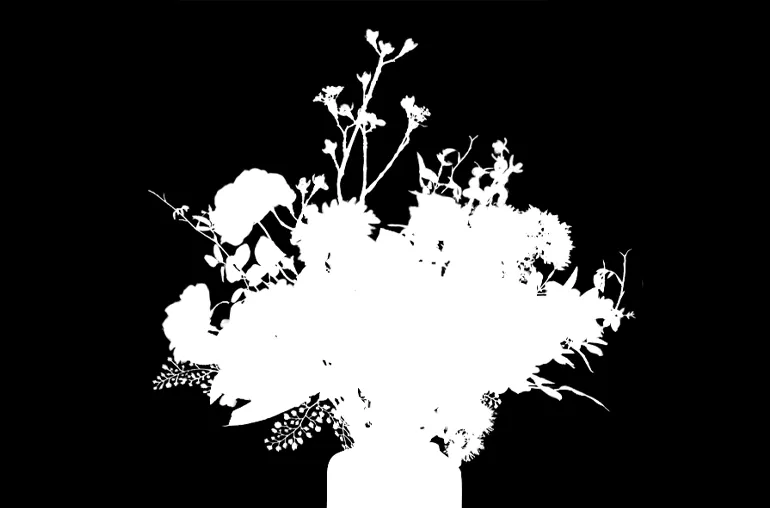
Send the right files for a clear quote
Send the highest-quality original available and the intended background. Fine detail is easier to preserve when the subject is in focus and separated from the original background.
What you receive
Receive a finished image or an editable PSD with a mask, as specified in your quote. We review difficult edges before confirming the work.
Pricing and delivery
Layer masking starts at $1 per image. Material transparency and edge complexity determine the final quote. We confirm the total, file formats and delivery time after reviewing your samples. Please mention any urgent deadline before ordering.
Image masking for fine edges and soft detail
Different subjects need different edge treatment. A solid product outline can often be separated with a path, while hair, fur and soft fabric edges may need a mask that retains gradual transitions. Share representative files so the approach can be assessed against the detail in your photographs.
Describe which fine features matter for the finished image. Include your intended background and an approved reference where available. This helps communicate the expected balance between retaining natural detail and removing distracting remnants of the original backdrop.
Prepare transparent and translucent subjects
Glass, sheer fabrics and partially transparent materials need careful review because the original background may be visible through them. Tell us whether you need a transparent export or placement onto a particular background. Include examples that represent the range of materials in the batch.
Use the highest-quality originals available and identify areas that are out of focus, compressed or difficult to distinguish from the backdrop. Those source limitations affect the detail available for separation and should be discussed before the work is agreed.
Review image masking in context
Check the finished separation against the background it will be used on. Look around fine strands, curved edges and translucent areas for unwanted colour fringes or an abrupt transition. Compare the result with the source to see whether important detail remains visible.
Review at the intended display size as well as close up. Send feedback with file names and identify the area requiring attention. If several backgrounds are required, include each version in the brief so the review reflects the agreed outputs.
Choose the right delivery files
A finished image and an editable mask serve different needs. Specify whether your team requires a JPG, a transparent PNG or a layered PSD with the mask retained. Include the output dimensions, naming convention and any additional background versions.
For recurring image masking work, keep an approved sample alongside the current instructions. Explain changes in source photography, materials or intended backgrounds before the next batch is reviewed.
A straightforward way to work together
- Send samples and your brief. Include quantity, output requirements and deadline.
- Approve the scope and quote. We agree the edits and delivery details before production.
- Review your edited files. Tell us about any corrections against the agreed brief.
Need regular editing support? Tell us your typical batch size and style requirements so we can discuss a consistent workflow.